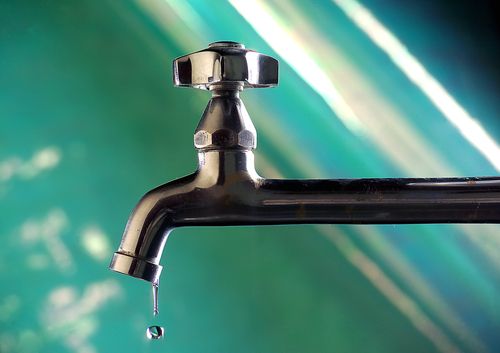
Did you know that a dripping faucet can waste more than 3,000 gallons of water in a single year? Because of this, learning how to fix a leaky bathtub faucet is something that every homeowner should do. In many cases, it’s just a simple fix to tighten everything up. Here’s what you need to know about fixing a leaky bathtub faucet yourself and when it is time to call in the professionals.
Fixing a Leaky Bathtub Faucet
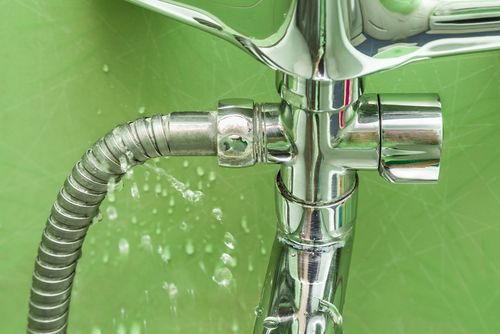
In most cases, the cause of a leaky faucet is a worn-out washer. Many washers are made from plastic, and they can deteriorate over time due to constant contact with the water. When they dry out in between uses, they can crack or break, eliminating the tight seal that is necessary to prevent leaks. Here’s how to remove the old washers and install new ones.
Step 1 – Shut Off the Water
It’s pretty difficult to work on a faucet with water flowing through it, so the first thing you’ll need to do is turn off your main water supply. Depending on the construction of your house, you may be able to turn off the water just in your bathroom. You’ll typically find the valves underneath your sink.
If your home does not allow this, you’ll need to turn off the main water valves. These are typically located in your garage. Turn the valves all the way off for both the hot and cold water to prevent any more water coming through your pipes.
Step 2 – Drain the Pipes
Even though you have turned off the water supply, there will still be water left in the pipes. To drain this water, simply turn on your bathtub faucet as if you were going to take a bath. A bit of water will come out, but it should stop flowing after a few seconds. Turn the faucet back off before moving on to the next step.
Step 3 – Remove the Handles
To gain access to the washers, you’ll have to pry off the handles. These are actually just covers for the handle hardware underneath. You should be able to pry them off using a small pocket knife or the tip of a flat-head screwdriver.
Next, you’ll need to take off the handle hardware so that you can access the stem. In most cases, it will be screwed on, so use a screwdriver to free the hardware from the stem. Typically, this is the most challenging part of these repairs. Over time, corrosion and mineral buildup can spread around the screws and other hardware, making them difficult to remove.
If you are having difficulty removing the handle, a tool called a handle puller can make the job a bit easier. You can find one at your local hardware or home improvement store. If the handle puller still isn’t making any difference, don’t try to force it. You don’t want to risk causing further damage. If you are unable to remove the handle, you should call in a professional pipelining expert to minimize the risk of more damage.
Step 4 – Take Apart the Stem
Next, you’ll need to take apart the stem to remove the old washers. Most of the stem parts either unscrew or can easily be pried off, so you shouldn’t have too much difficulty with this step. Make a mental note of where each part goes so that you can put everything back together properly.
Grease all of the parts with plumber’s grease before installing the new washers and putting everything back together. Apply liquid thread sealant around the screw threads before screwing the stem back into place to ensure the tightest seal possible.
If your bathtub has separate handles for hot and cold water, you should change the washers in both of them at the same time. If the washers in one handle have deteriorated, it is likely that the ones in the other have as well. Doing them both at the same time will save you time and hassle later on.
Step 5 – Test Everything Out
Once you have replaced the stem and reattached the handles, you’re ready to test that everything is working properly. When everything is put back together securely, turn your water supply back on. Let the water run for several seconds to ensure your pipes are filled back up again.
When you turn off the water once more, the faucet should no longer leak. If it still does, you’ll need to call a professional plumber to inspect it and conduct more thorough repairs. A reputable plumber should always provide you with a detailed cost estimate before beginning any work.
Tools Needed
You should already have most of the tools and supplies you’ll need to complete these repairs. For anything you don’t have lying around the house, you can find what you need at a hardware or home improvement store, or you can buy them from online outlets.
- Pocket Knife – Pocket knives and utility knives are great for this detailed task, thanks to their small, narrow blades. If you don’t have a pocket knife or utility knife, a small flat-head screwdriver will also do the trick.
- Screwdriver – Depending on the screws used in your faucet, you may need either a Phillips-head or flat-head screwdriver. Once you have removed the faucet handles, you’ll be able to see the screws to identify the specific type and size of screwdriver you’ll need.
- Handle Puller (Optional) – If you are having difficulty removing the handles, you may need to use a handle puller to get them off. This tool gives you the extra leverage you need to apply pressure where it is needed to remove the handles. Remember not to force it, though, as you don’t want to break anything.
- Washers – Of course, you’ll need new washers with which to replace the old ones. Make note of the specific brand and style of your faucet to ensure you buy the correct parts. The staff at your local home improvement or hardware store should be able to help you find what you need, or you can order the parts directly from your faucet’s manufacturer.
- Plumber’s Grease – Plumber’s grease lubricates all of the hardware so that it can slide easily back together, minimizing the risk of leaving any gaps where water can leak out. Don’t skip this important step, as ill-fitting parts can result in more leaks.
- Liquid Thread Sealant – This sealant will fill in any gaps between the screws’ threads and housing, ensuring that water can’t get through. Securing this tight fit will ensure that your faucets stay leak-free for as long as possible.
- Gloves – Over time, your faucet hardware may have rusted or accumulated mineral buildup due to hard water. Wearing gloves will keep your hands safe from contamination and reduce your risk of cutting or scraping your skin. Gloves will also protect your skin from the grease, sealant and any cleaning chemicals you use.
Leaky Faucet FAQs
Why does my shower head drip when the tub faucet is on?
Your home’s water pressure may be too strong for the pipe leading to your bathtub faucet. This can cause the excess water to be forced upward to the shower head. You may notice just a trickle of water, or it may flow more freely. The best way to address this issue is to install wider pipes behind your tub faucet to allow more water to flow through. You should call a professional plumber to handle this task.
Can bathtubs leak?
Although it is not common for bathtubs to leak, it is entirely possible. In most cases, this is due to a weak or broken seal around your tub’s drain.Usually, you’ll need an experienced plumber to fix the problem. Your plumber can also identify any areas with water damage to guide you in further repairs to prevent mold and mildew from forming underneath your tub.
Why is my tub spout still leaking?
If you have followed the steps explained above and are still experiencing a leak from your tub spout, the issue could be with the diverter. This is the part that blocks water flow from the spout when you are using the shower. Problems in this area can lead to low water pressure when showering. You’ll typically be able to fix the problem by replacing the spout with a new one.
Trust the Professionals at San Diego Pipelining
Here at San Diego Pipelining, we work with countless homeowners and businesses, not just in San Diego, but throughout Southern California. We will gladly assist you with any plumbing and sewer repairs you need. We strive to stay up-to-date on the latest developments in the industry so that we can deliver high-quality workmanship that lasts.
We welcome you to get in touch with us to learn more about our services and how we can help keep the pipes in your San Diego home or business flowing smoothly. Reach out to us today to schedule your first appointment with one of our expert technicians.